
Bring Your Passion and Your Fire
Fire art is part of the essential fabric of Black Rock City, and to keep creating it, we need to do so safely. Whether you’re incorporating fire into your art installation, theme camp, mutant vehicle or performance, it’s essential that you don’t harm others or the playa. This section contains important information about creating fire art safely and exhibiting it on playa.
Thank you for taking the time to read this information thoroughly, and for wanting to create fire art for Burning Man. Now… let’s burn some stuff! Safely!
Creating Fire Art Safely
Fire is at the heart of the Burning Man event, and we encourage and support all types of safe fire art and pyrotechnic displays. Learn about the safe use of open fire, flame effects and pyrotechnics.
Guidelines
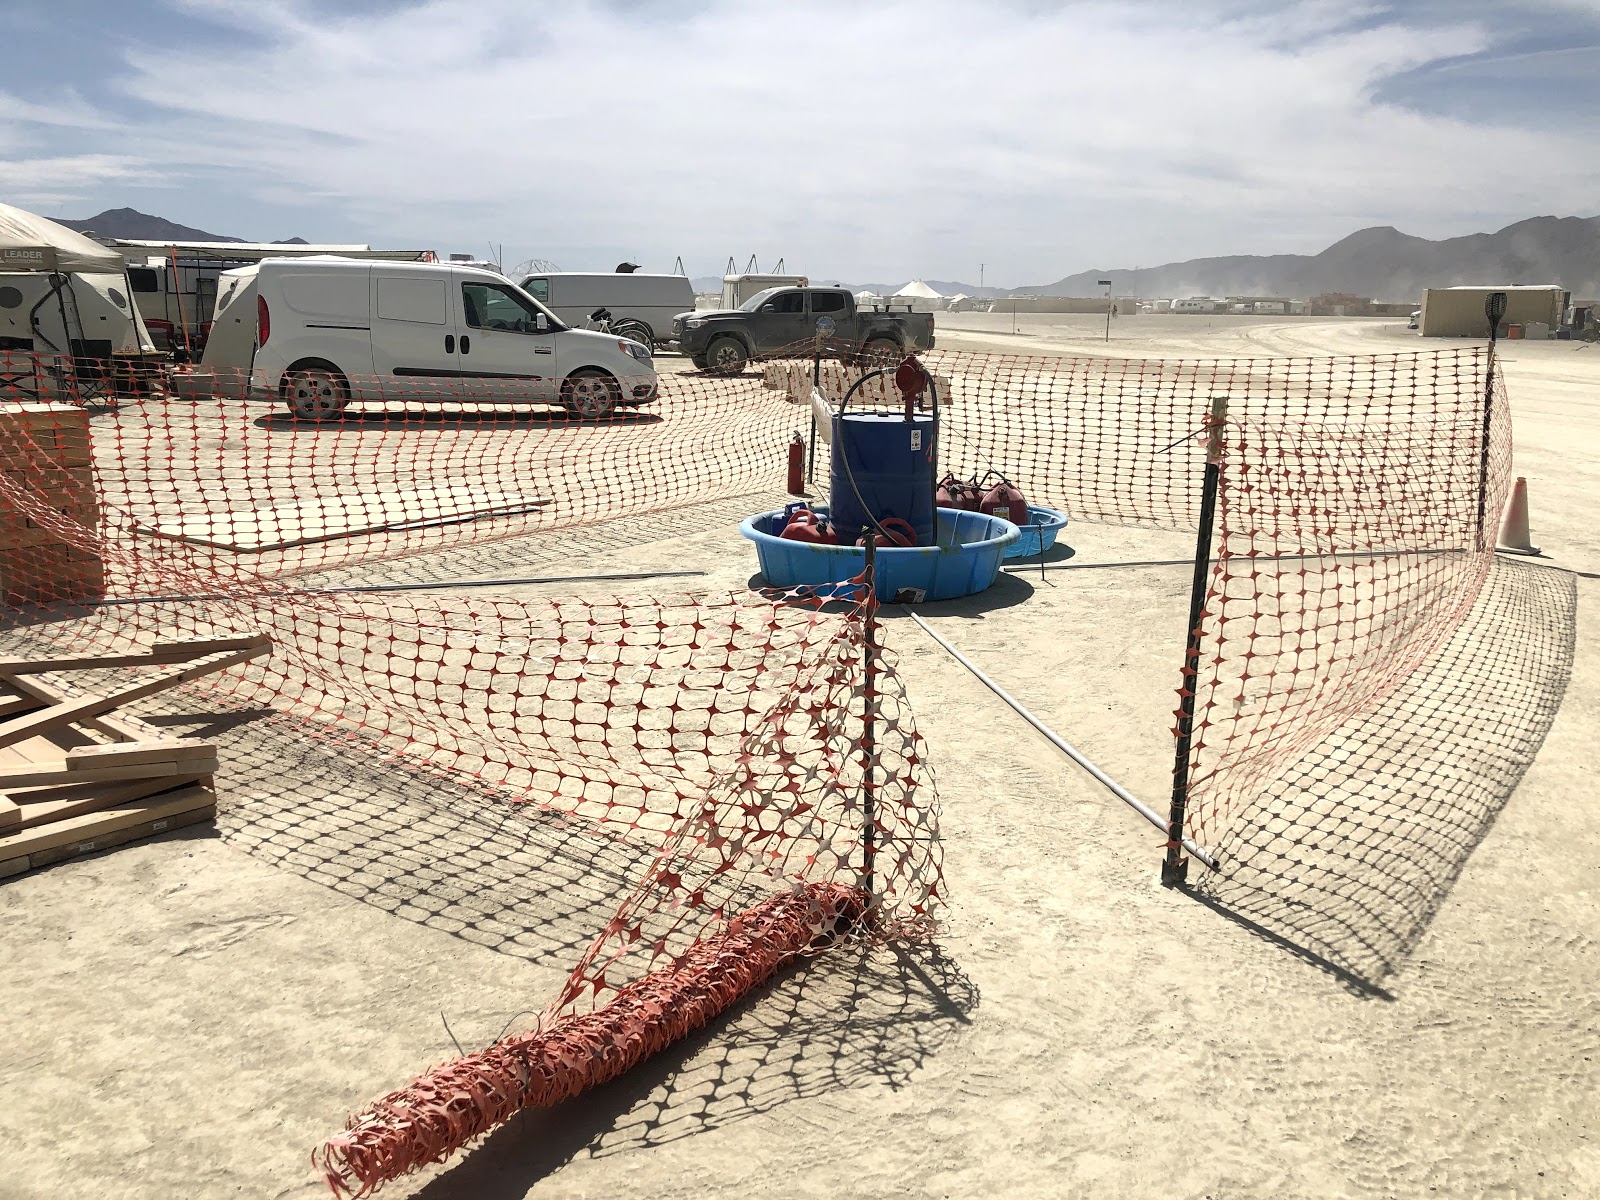
Helpful Resources for Logistics
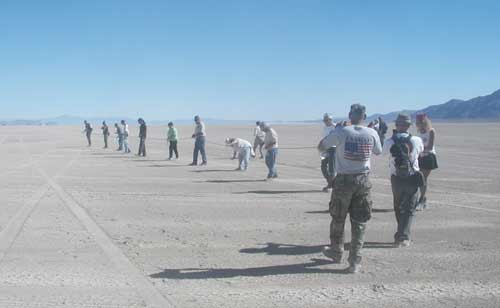
Leave No Trace
How to Get Your Fire Art Approved
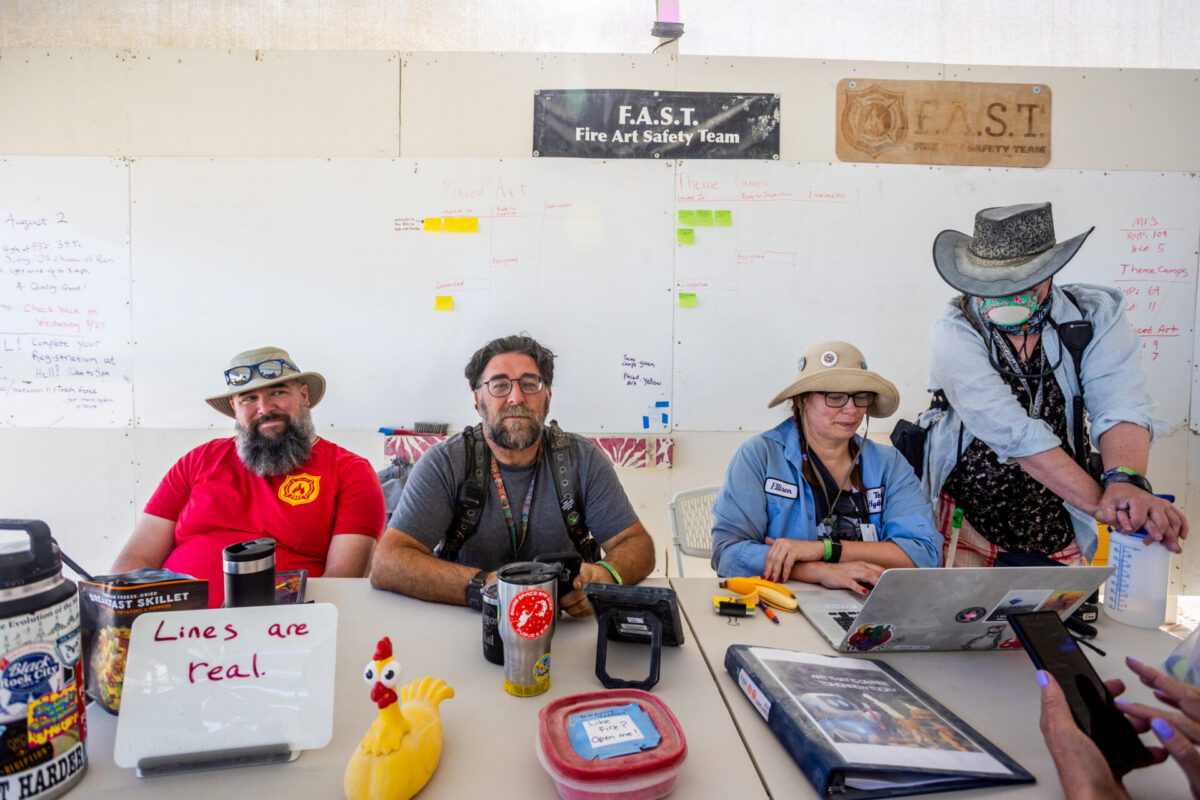
Approval Process for Fire Art
It is every artist’s responsibility to help Burning Man maintain our safety record, ensuring that we can all continue to use fire in the ways that make our event unique.
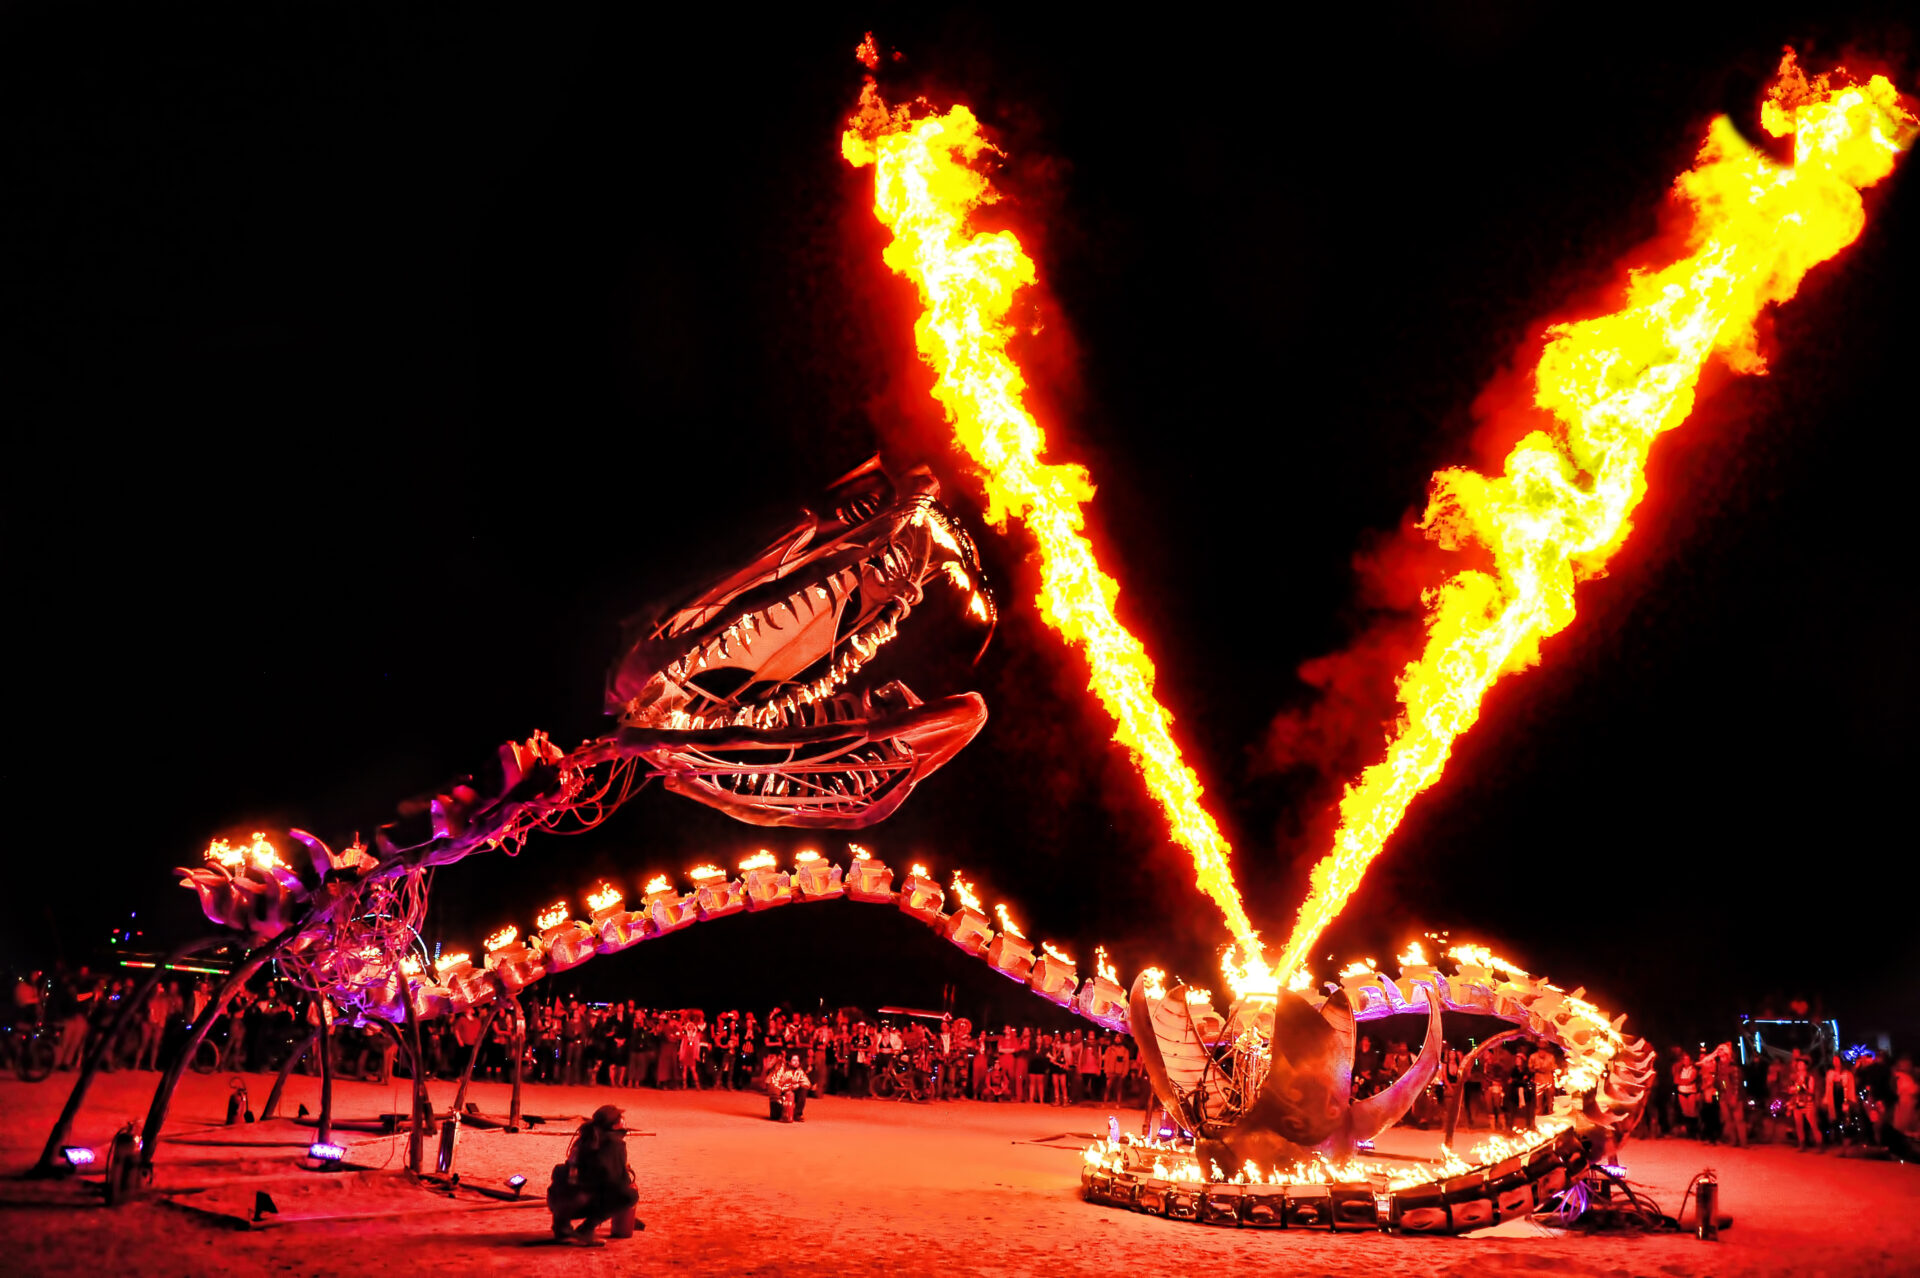
Find some inspiration in this selection of Fire Art


Appreciations
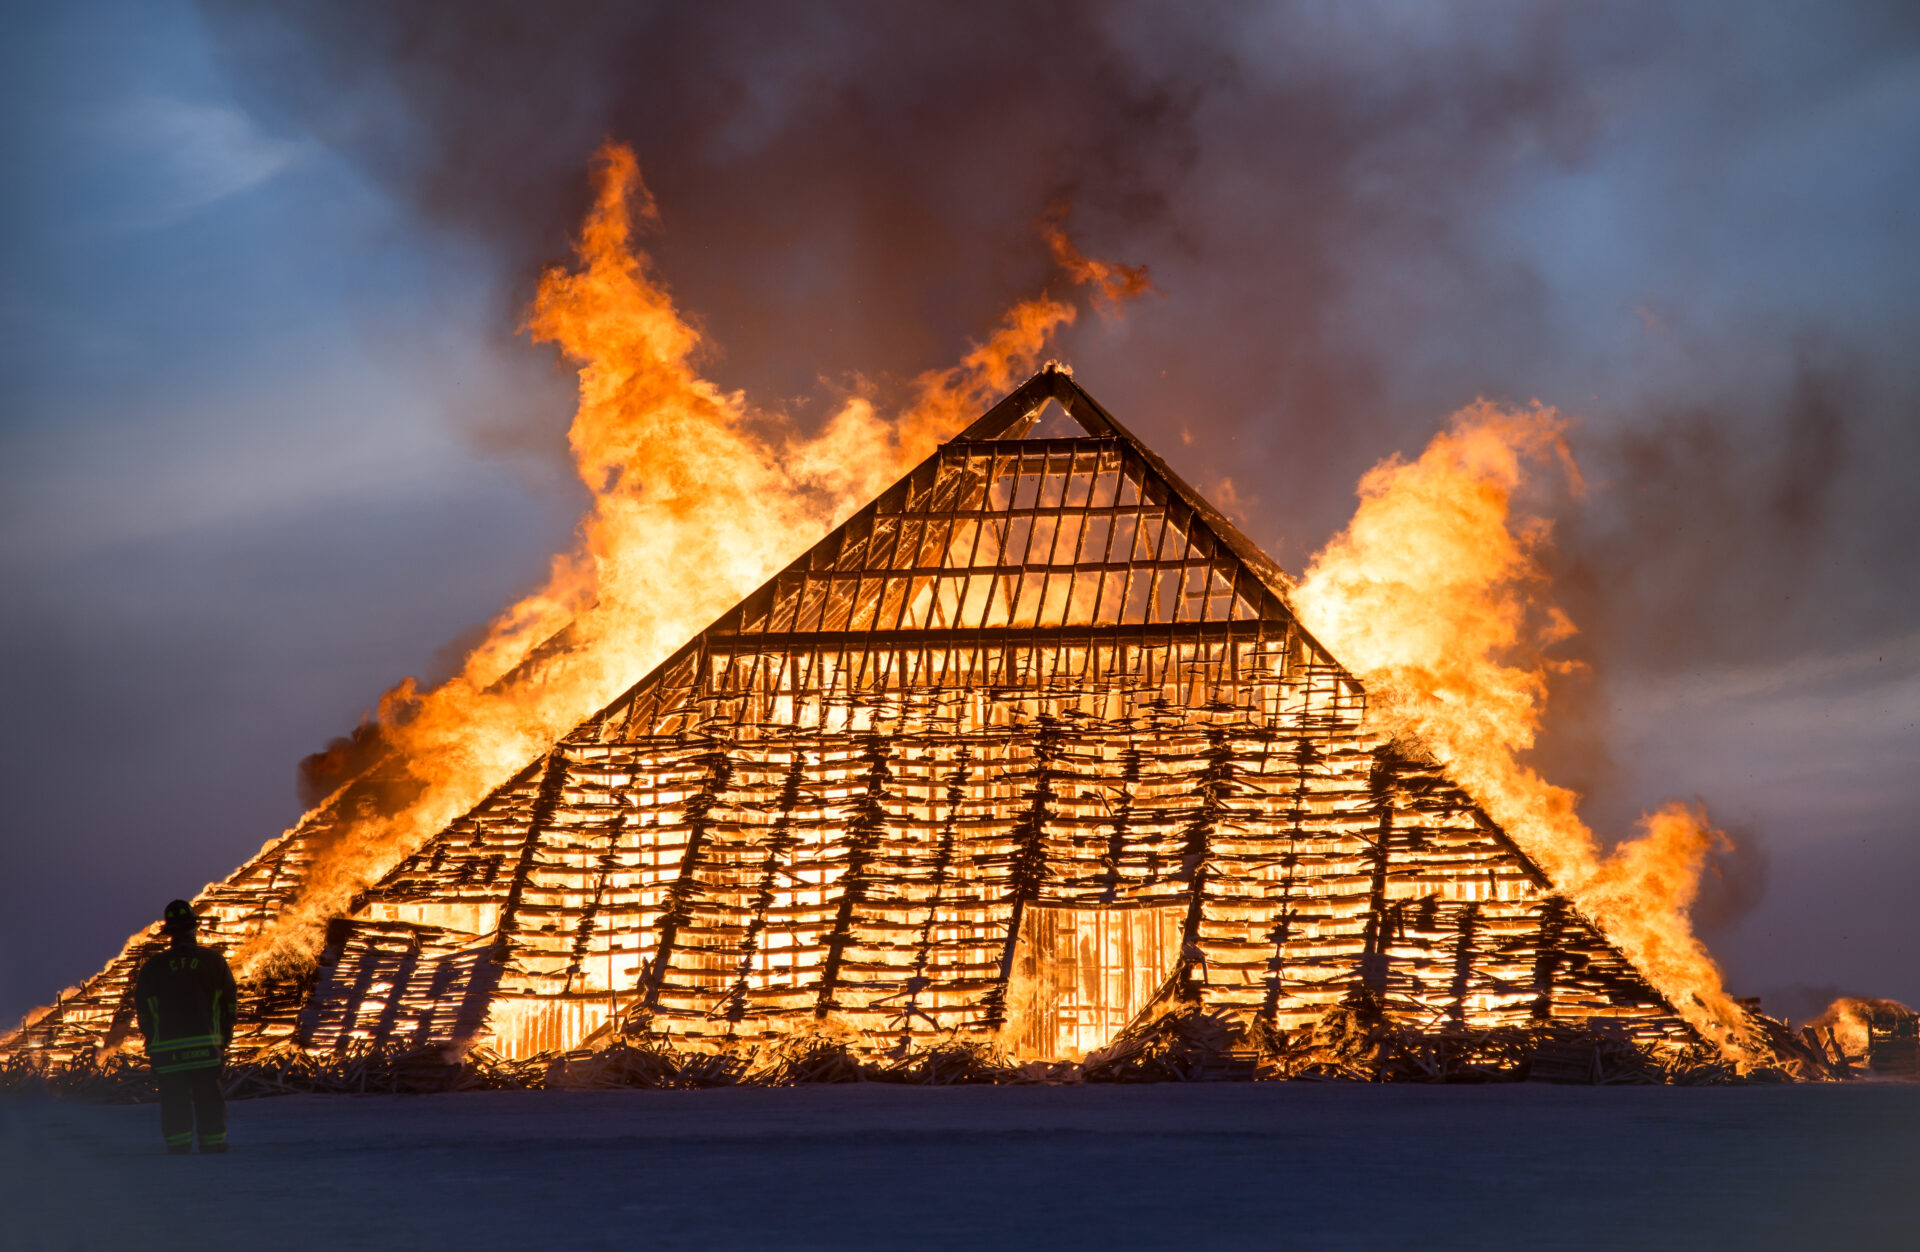
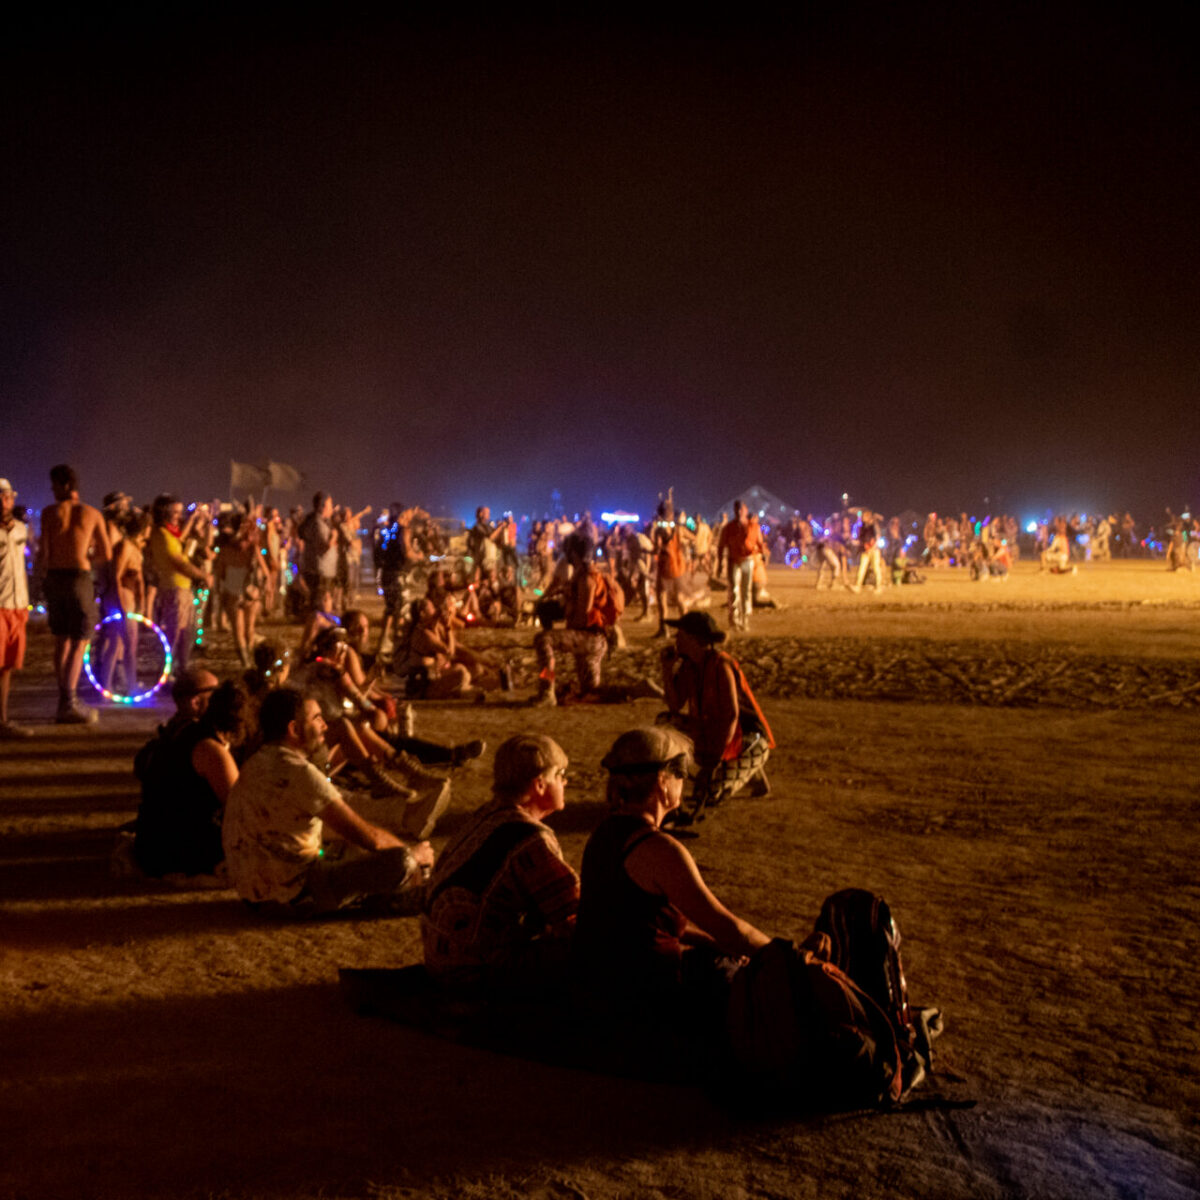
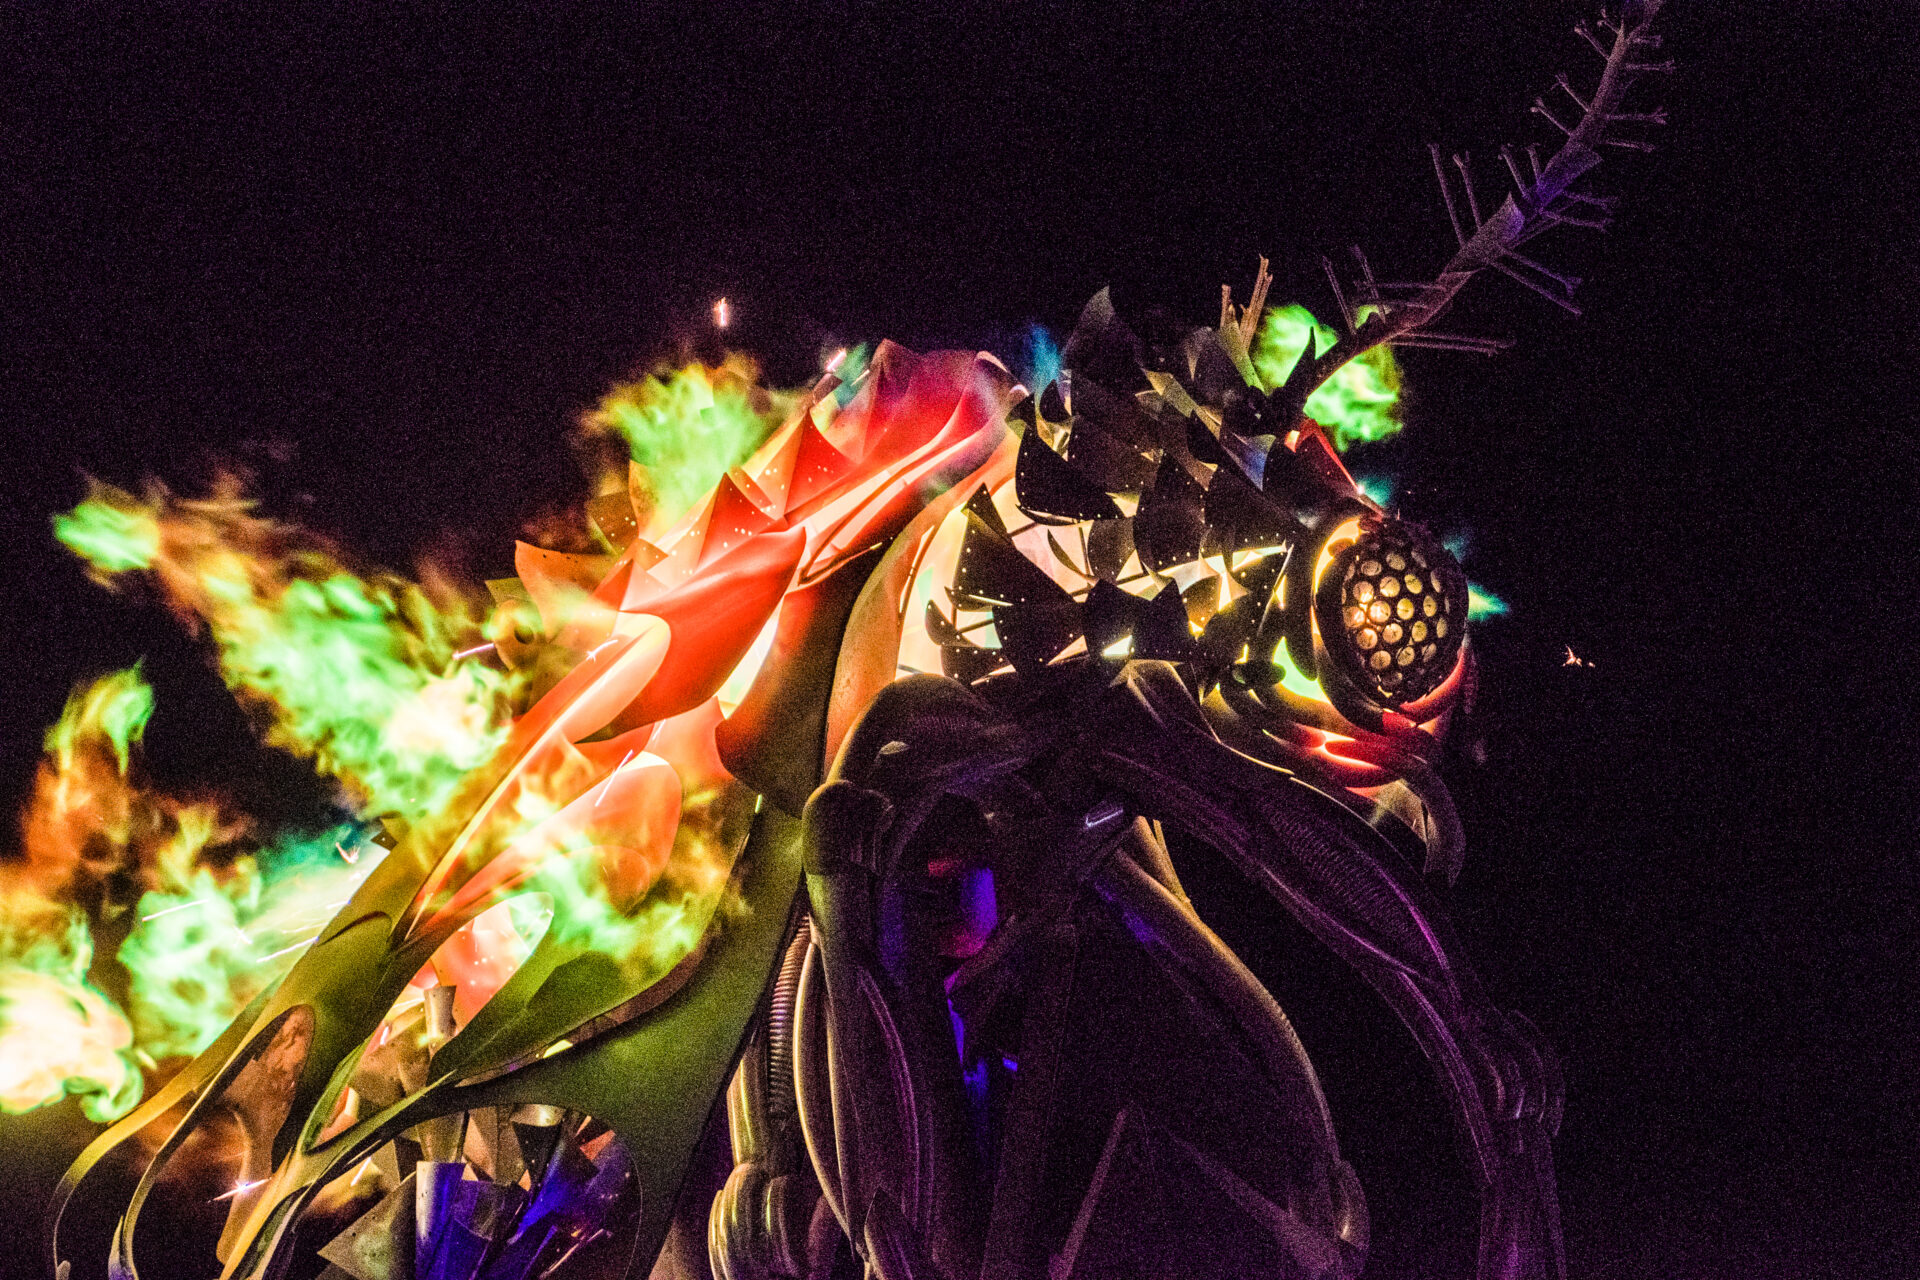
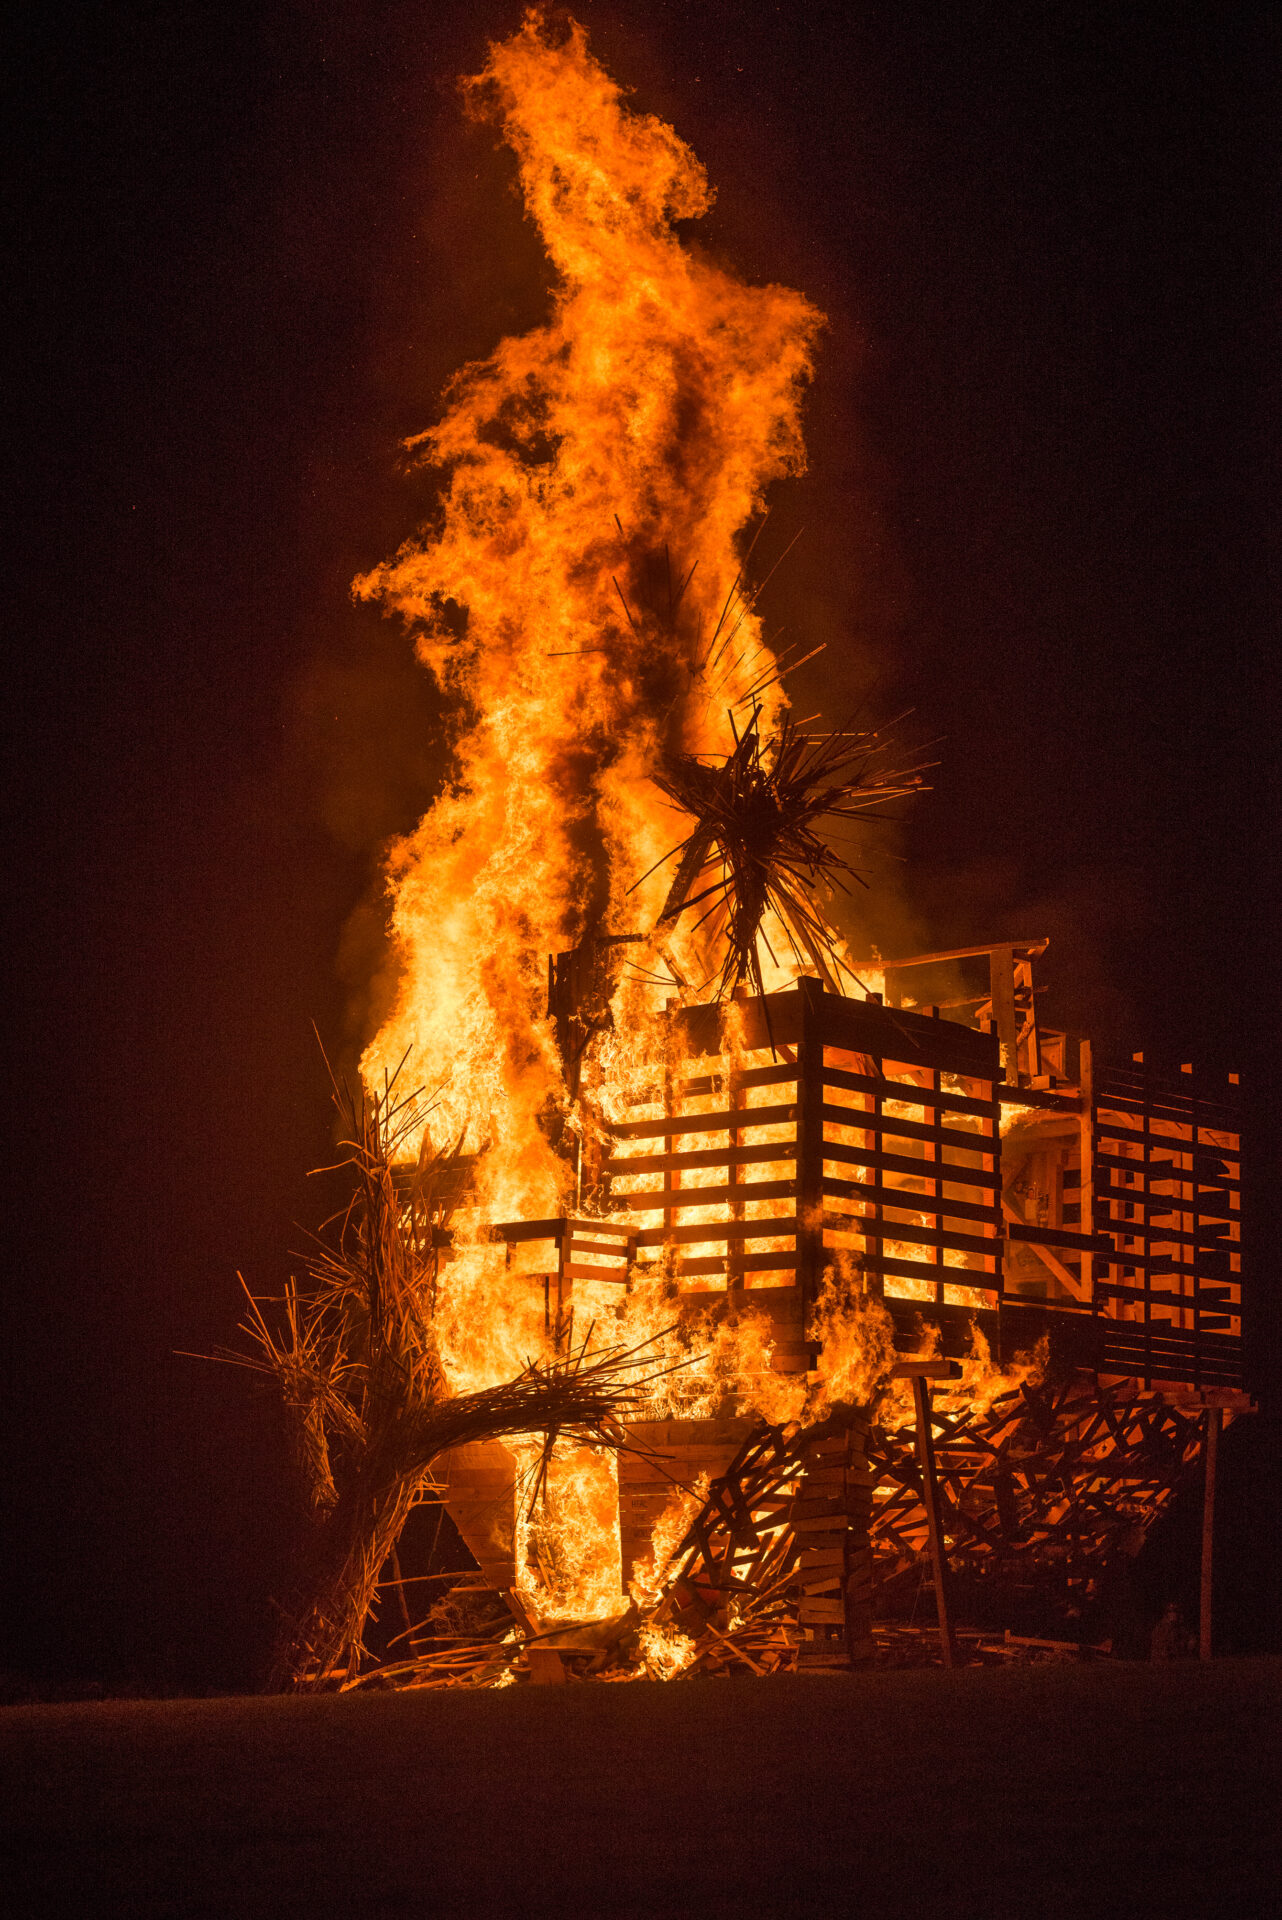
The burn of the Dreaming Goddess by David Bell
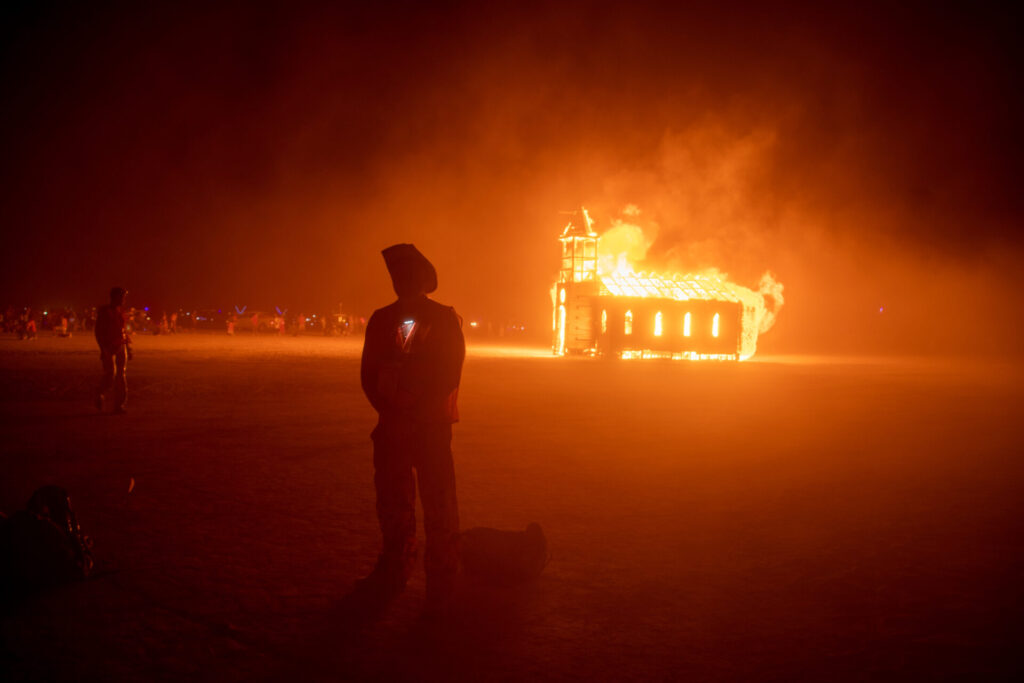
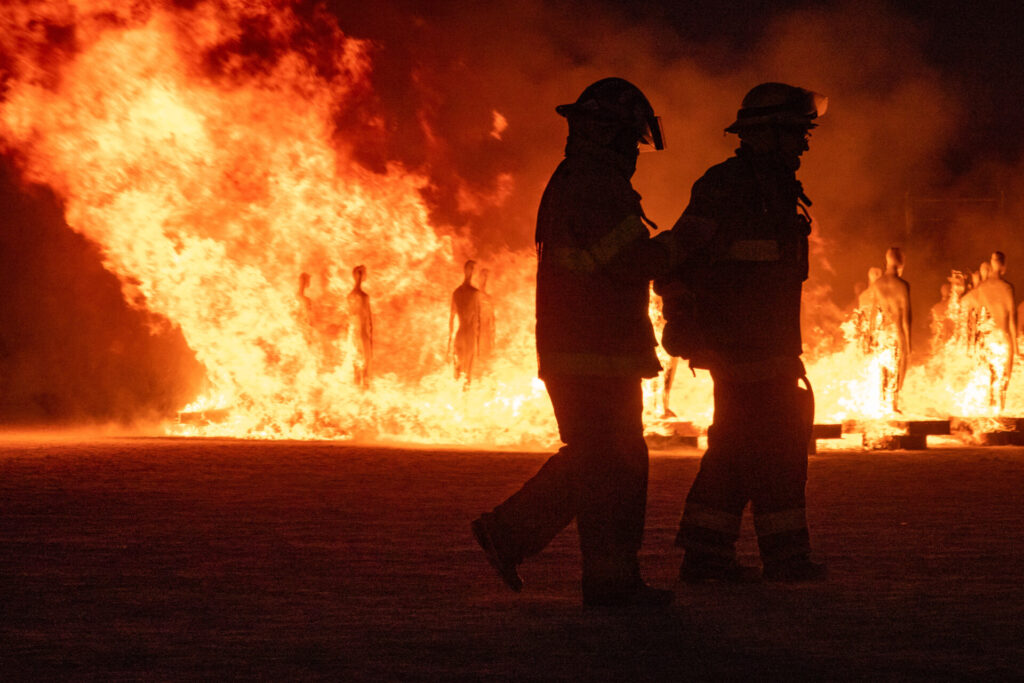
The Burning of The Man’s Army
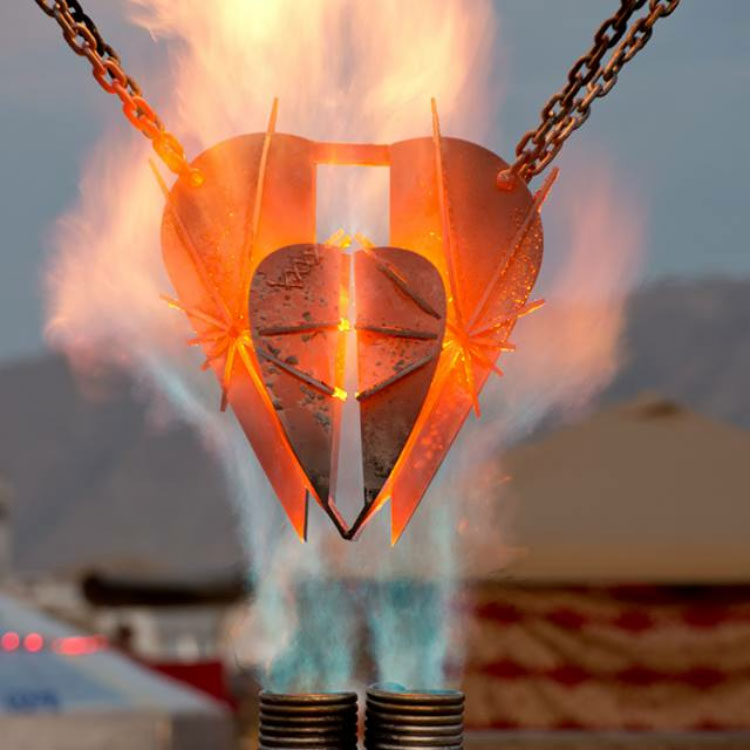
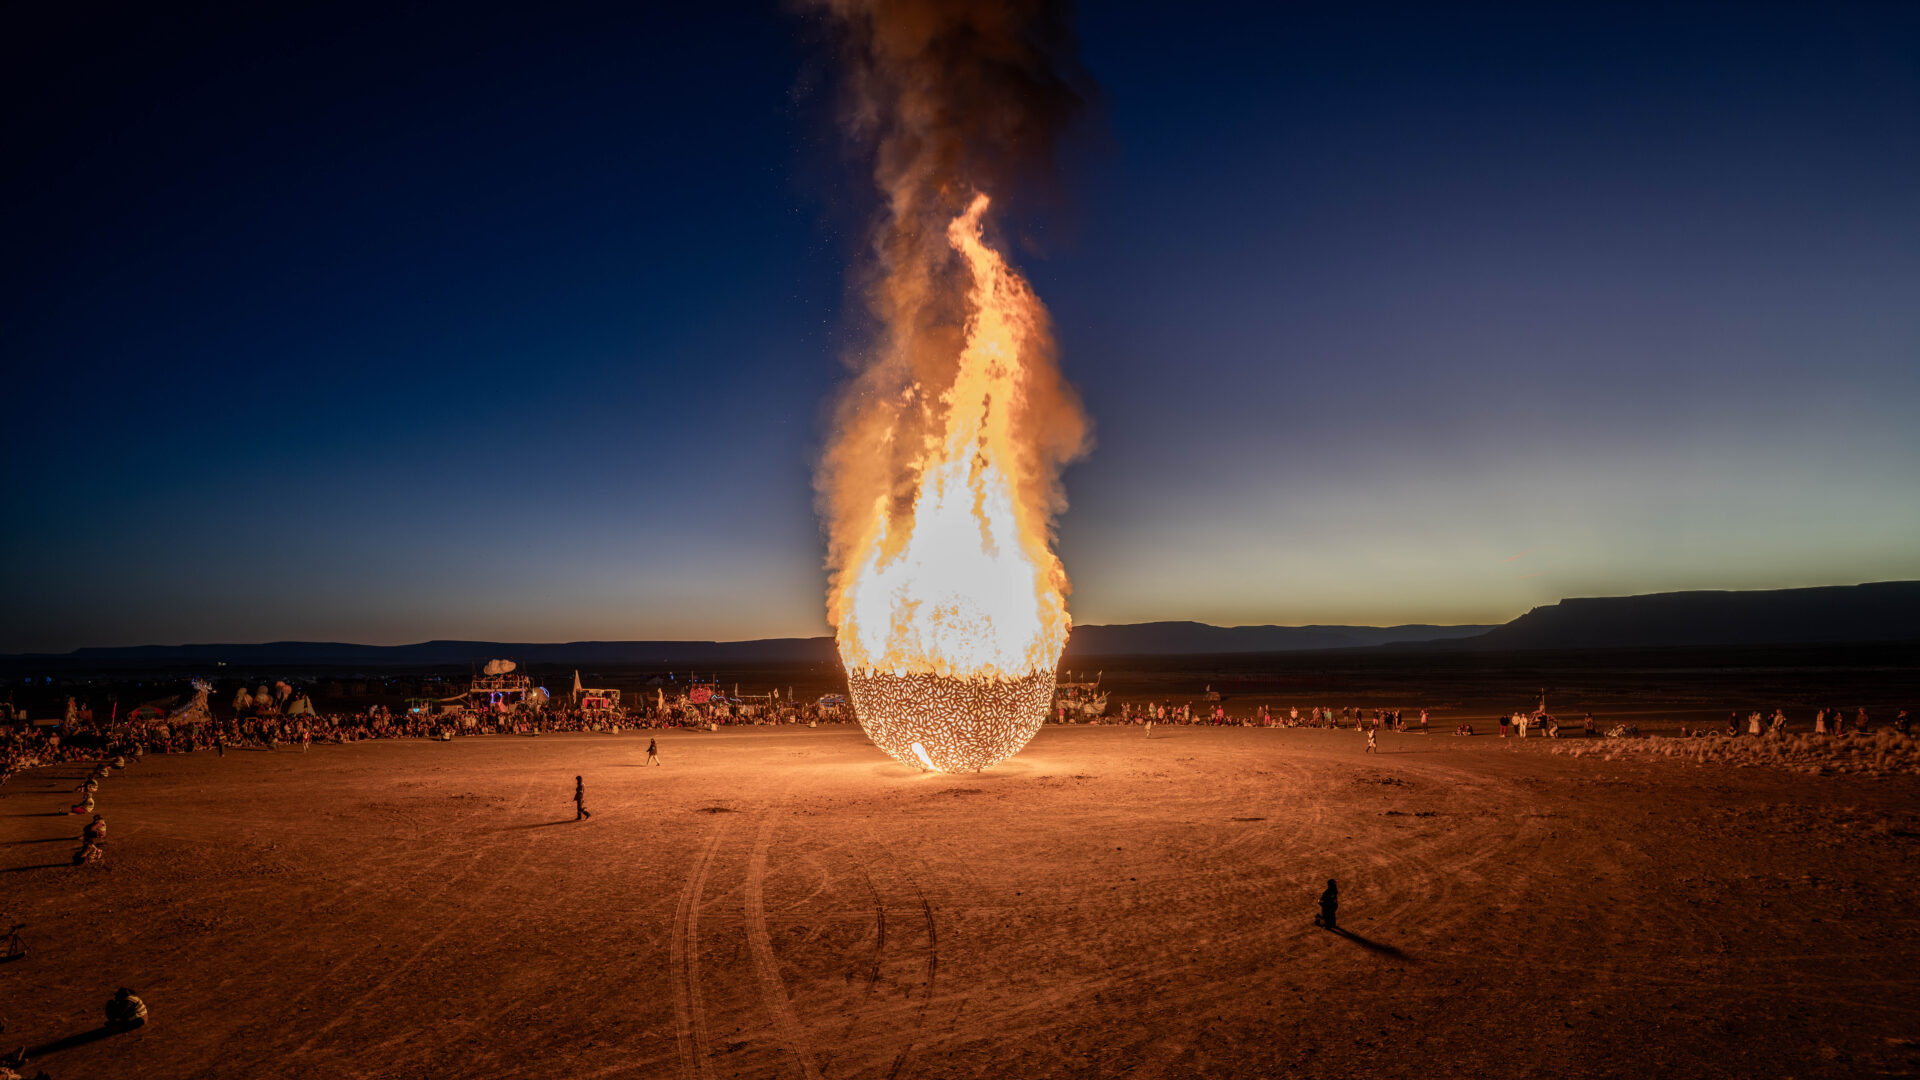
Broken Heart by Michief Lab, 2014
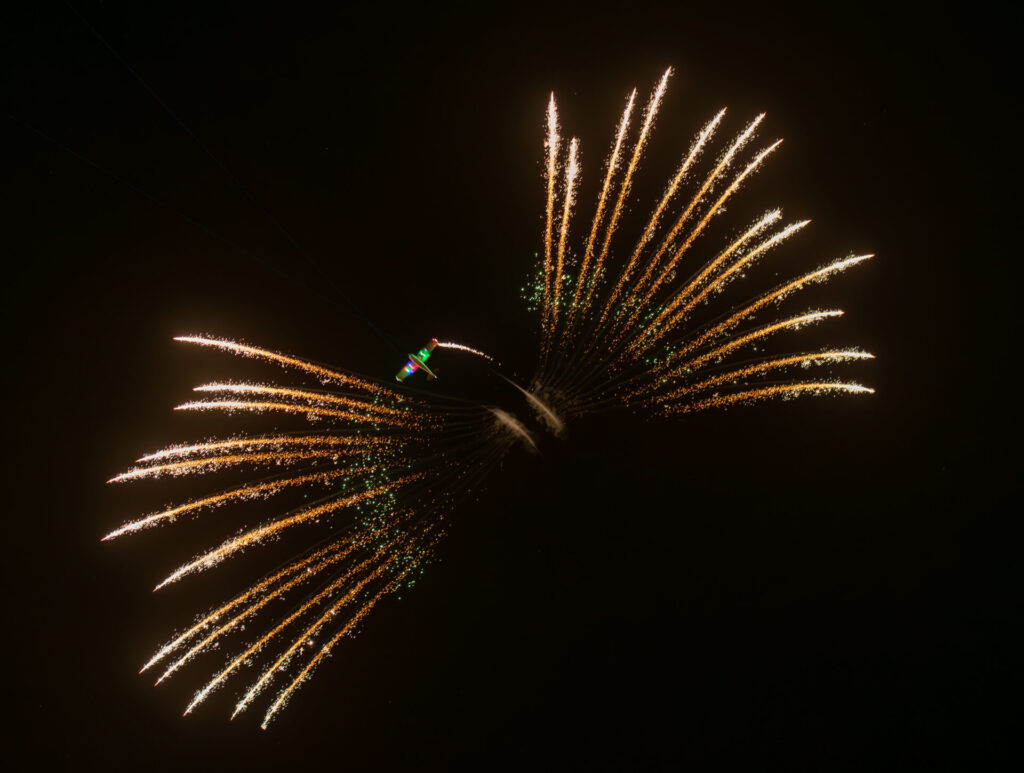
Fireworks Show from an Aircraft. Photo credit: Bill Klemens
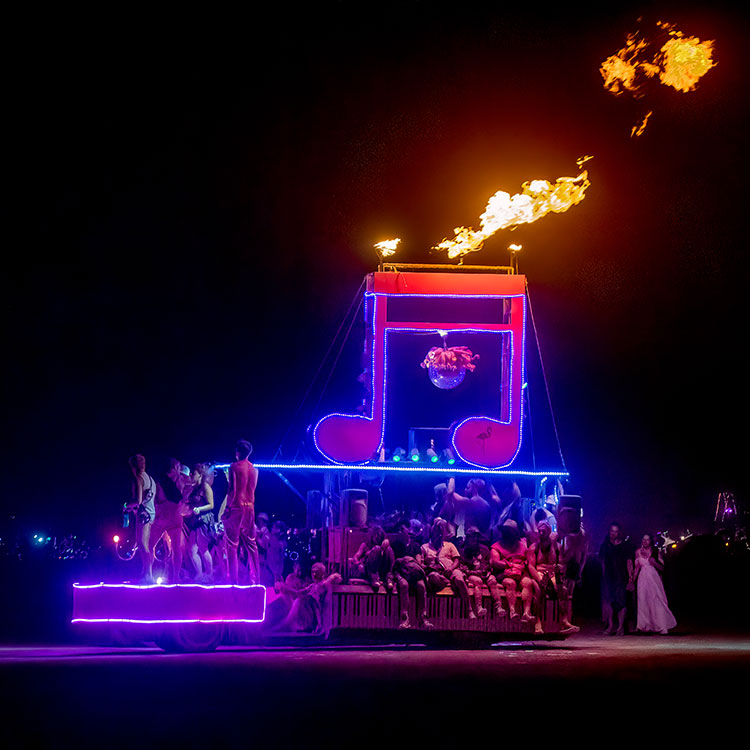
Gina, the Flaming Pink Piano, 2022. Photo credit: Bill Klemens
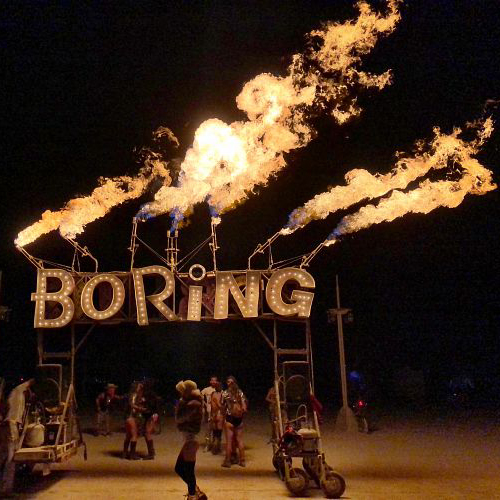
Boring Camp